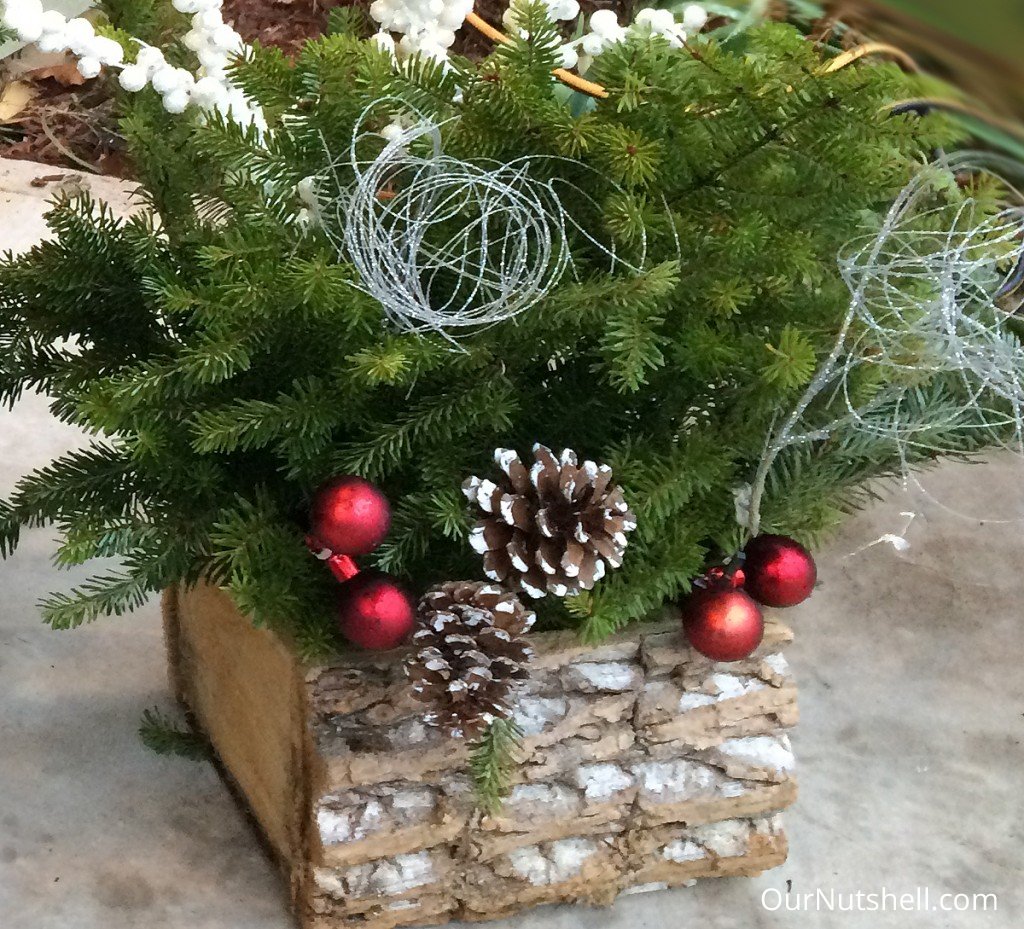
This past Christmas I really wanted to go out and purchase some cute planters for the front of our house to bring a little life to the outside. Unfortunately everything I found was pretty pricey for what I wanted, and since they really only needed to be there for a few months I just couldn’t see putting out any large amount of money for them.
We purchased 2 Christmas trees, I know a contradiction to my last sentence of not wanting to spend much, but the Christmas trees I knew we’d look at constantly whereas the planters we’d only see on occasion.
So once we trimmed the bottom of the tree to fit it in the stand, and by “we” I mean my husband Eric, I took those trimmings along with 2 existing planter containers we had, and a wood box we had bought the previous year to make what you see below. The box we bought last year came with the accessories(berries, pine cones, etc.) and I’m sure if you wanted to add those in it you could get them pretty cheap at any craft store over the holidays.
It didn’t take me but 15 minutes to put them together and arrange them. I removed the dead plants that were in the containers, left the soil, and just stuck the branches down into the dirt. I found that by cutting them pretty short so the branches were full close to the base of the container it gave it a nice full look.
This was cheap(in my case totally free, I just used what I had on hand already) and quick to do.
WHAT YOU NEED
Planter Boxes or Containers
Leftover Christmas Tree Branches
Christmas Accessories (pine cones, berries, even ornaments would do!)
STEP 1
Get planter ready, it will need to have either dirt or foam to fill the bottom of it for you to place the branches in
STEP 2
Place branches into dirt or foam to secure them. Cut the branches so there is greenery almost to the bottom of the branch, this will give it a fuller effect.
STEP 3
Add accessories. I added existing items we had on hand, I’m sure you have plenty you could use too. You could use ornaments, bells, whatever seasonal items you have. You’re done!


