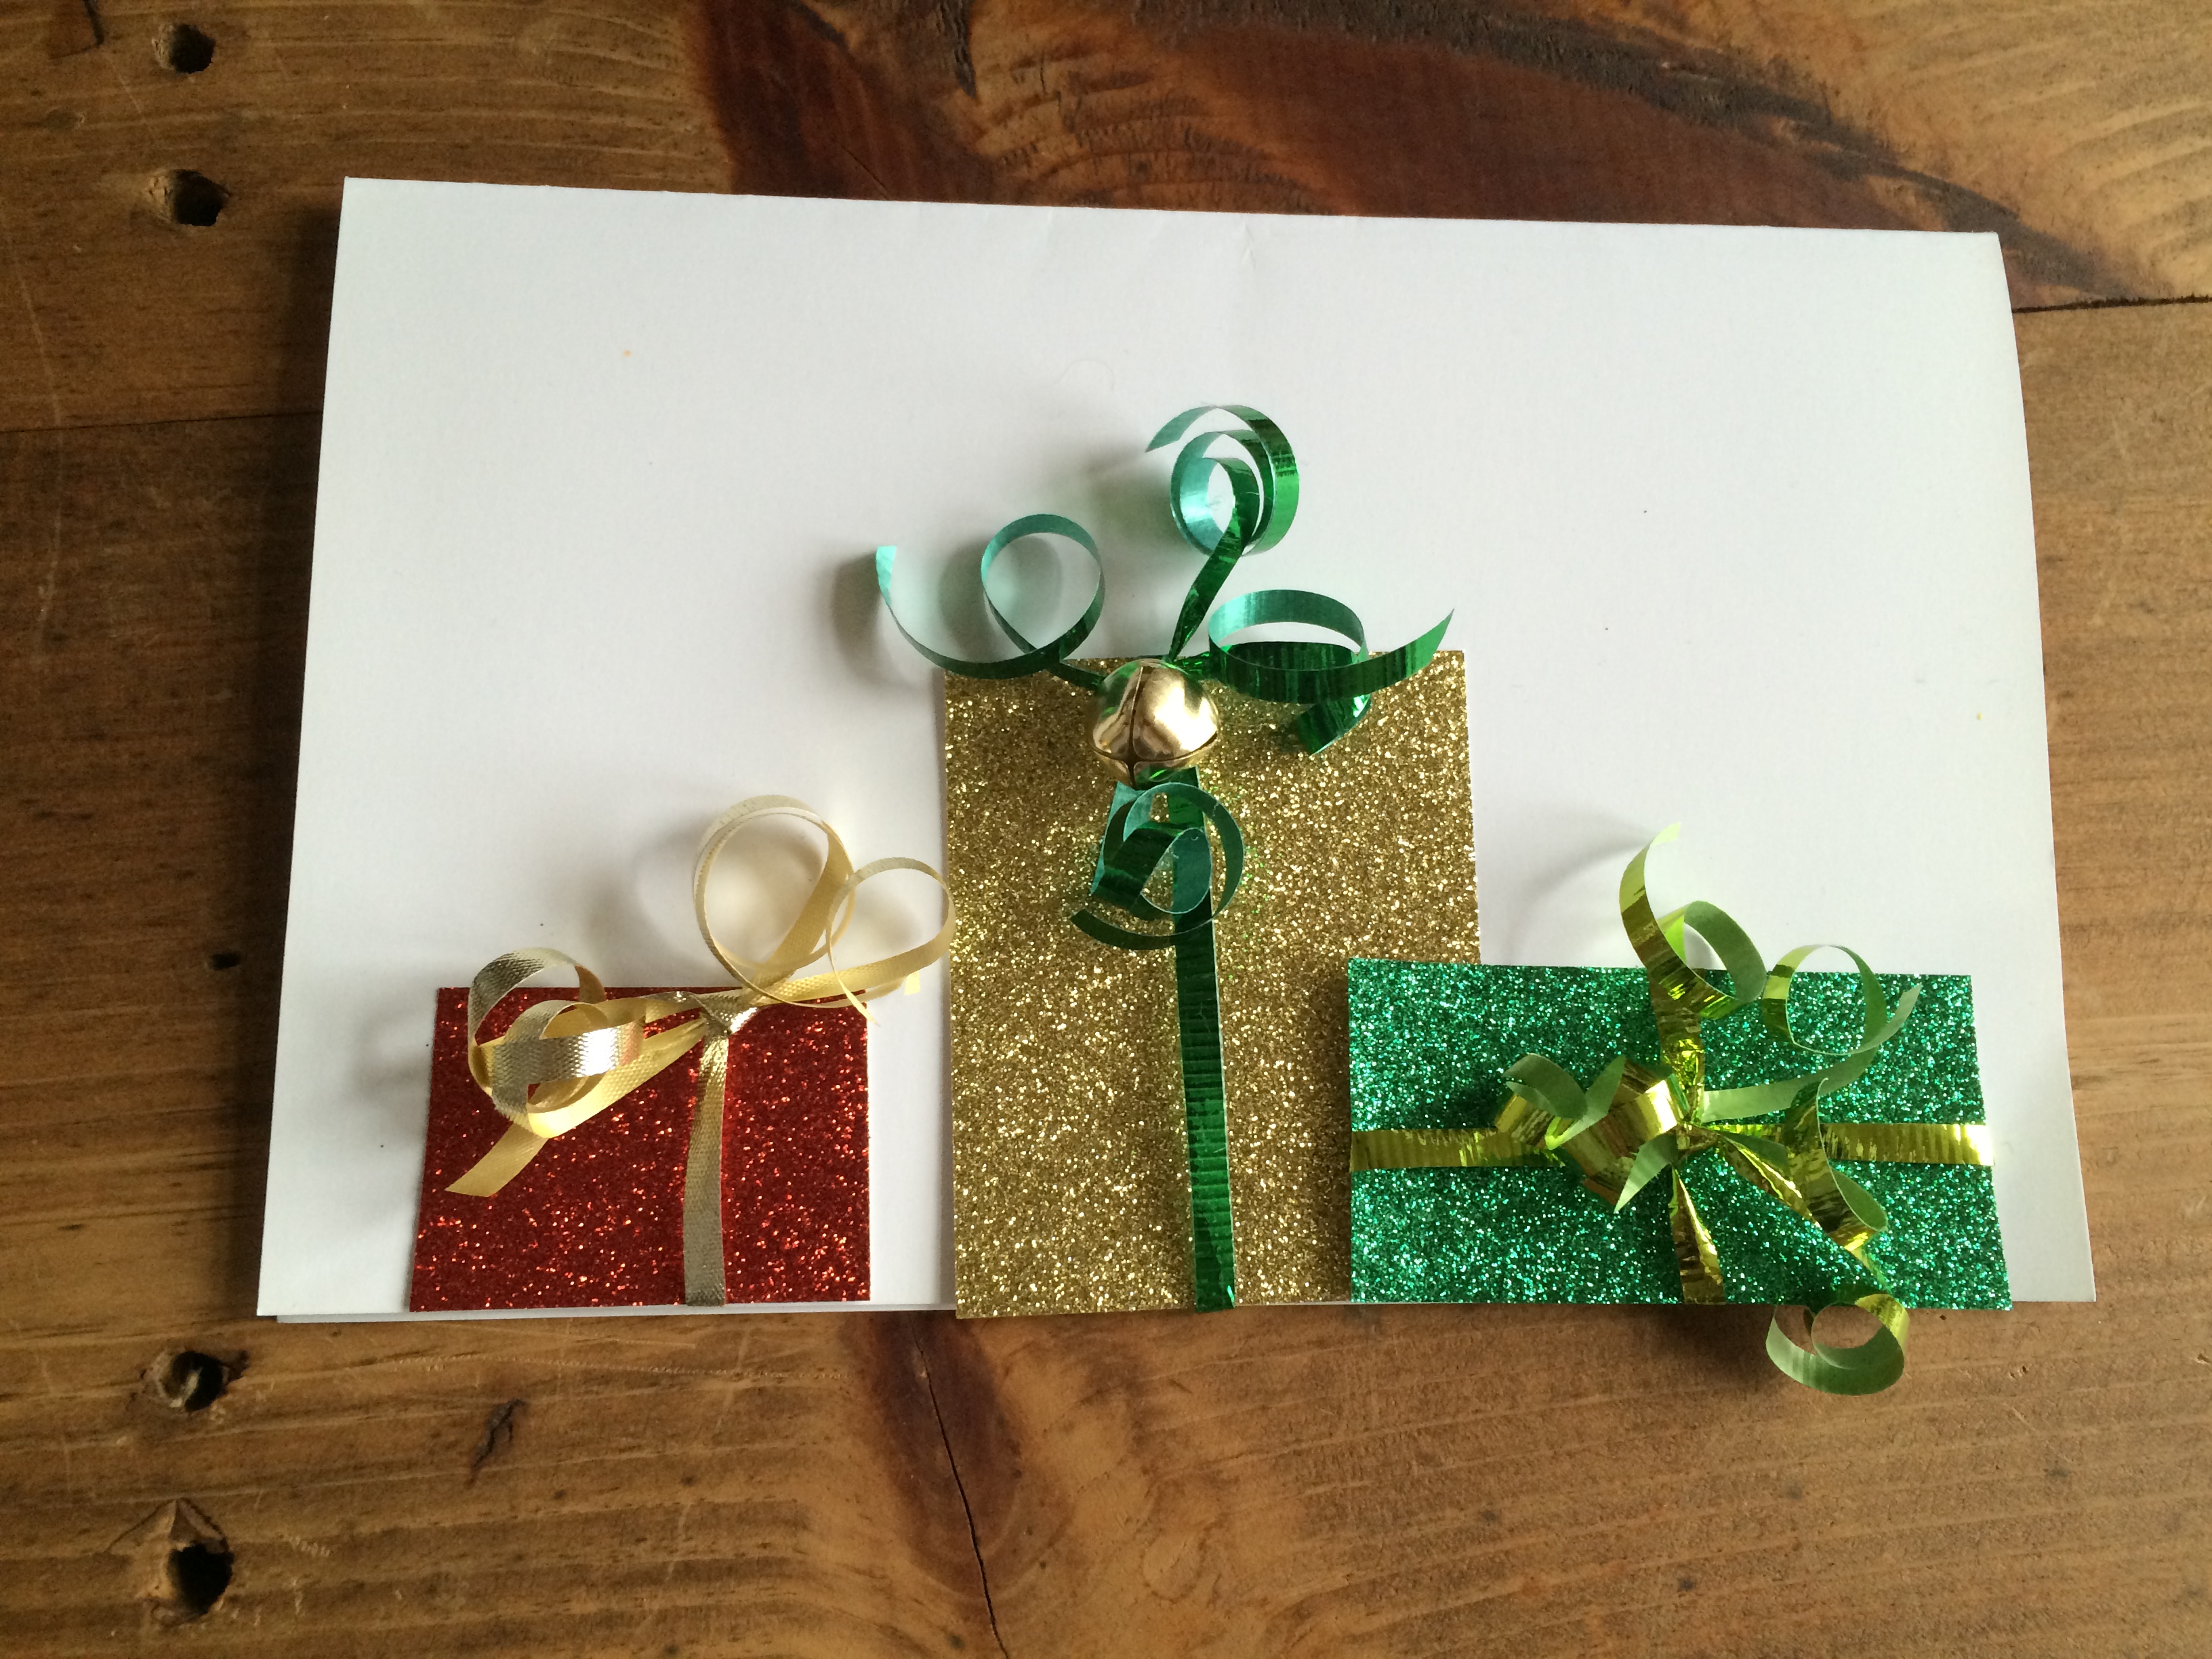
I decided to take on a pretty big project for Christmas – making and sending out my own handmade Christmas cards. I was inspired by a story I read about a woman who created handmade cards every year up until her death and the year she passed away she started the cards. Her daughter decided to take on the task and reminisced about how much people loved and looked forward to her mom’s cards. It was a really cute story, and although I doubt it’s something I might ever even do again, it was fun to try at least this year.
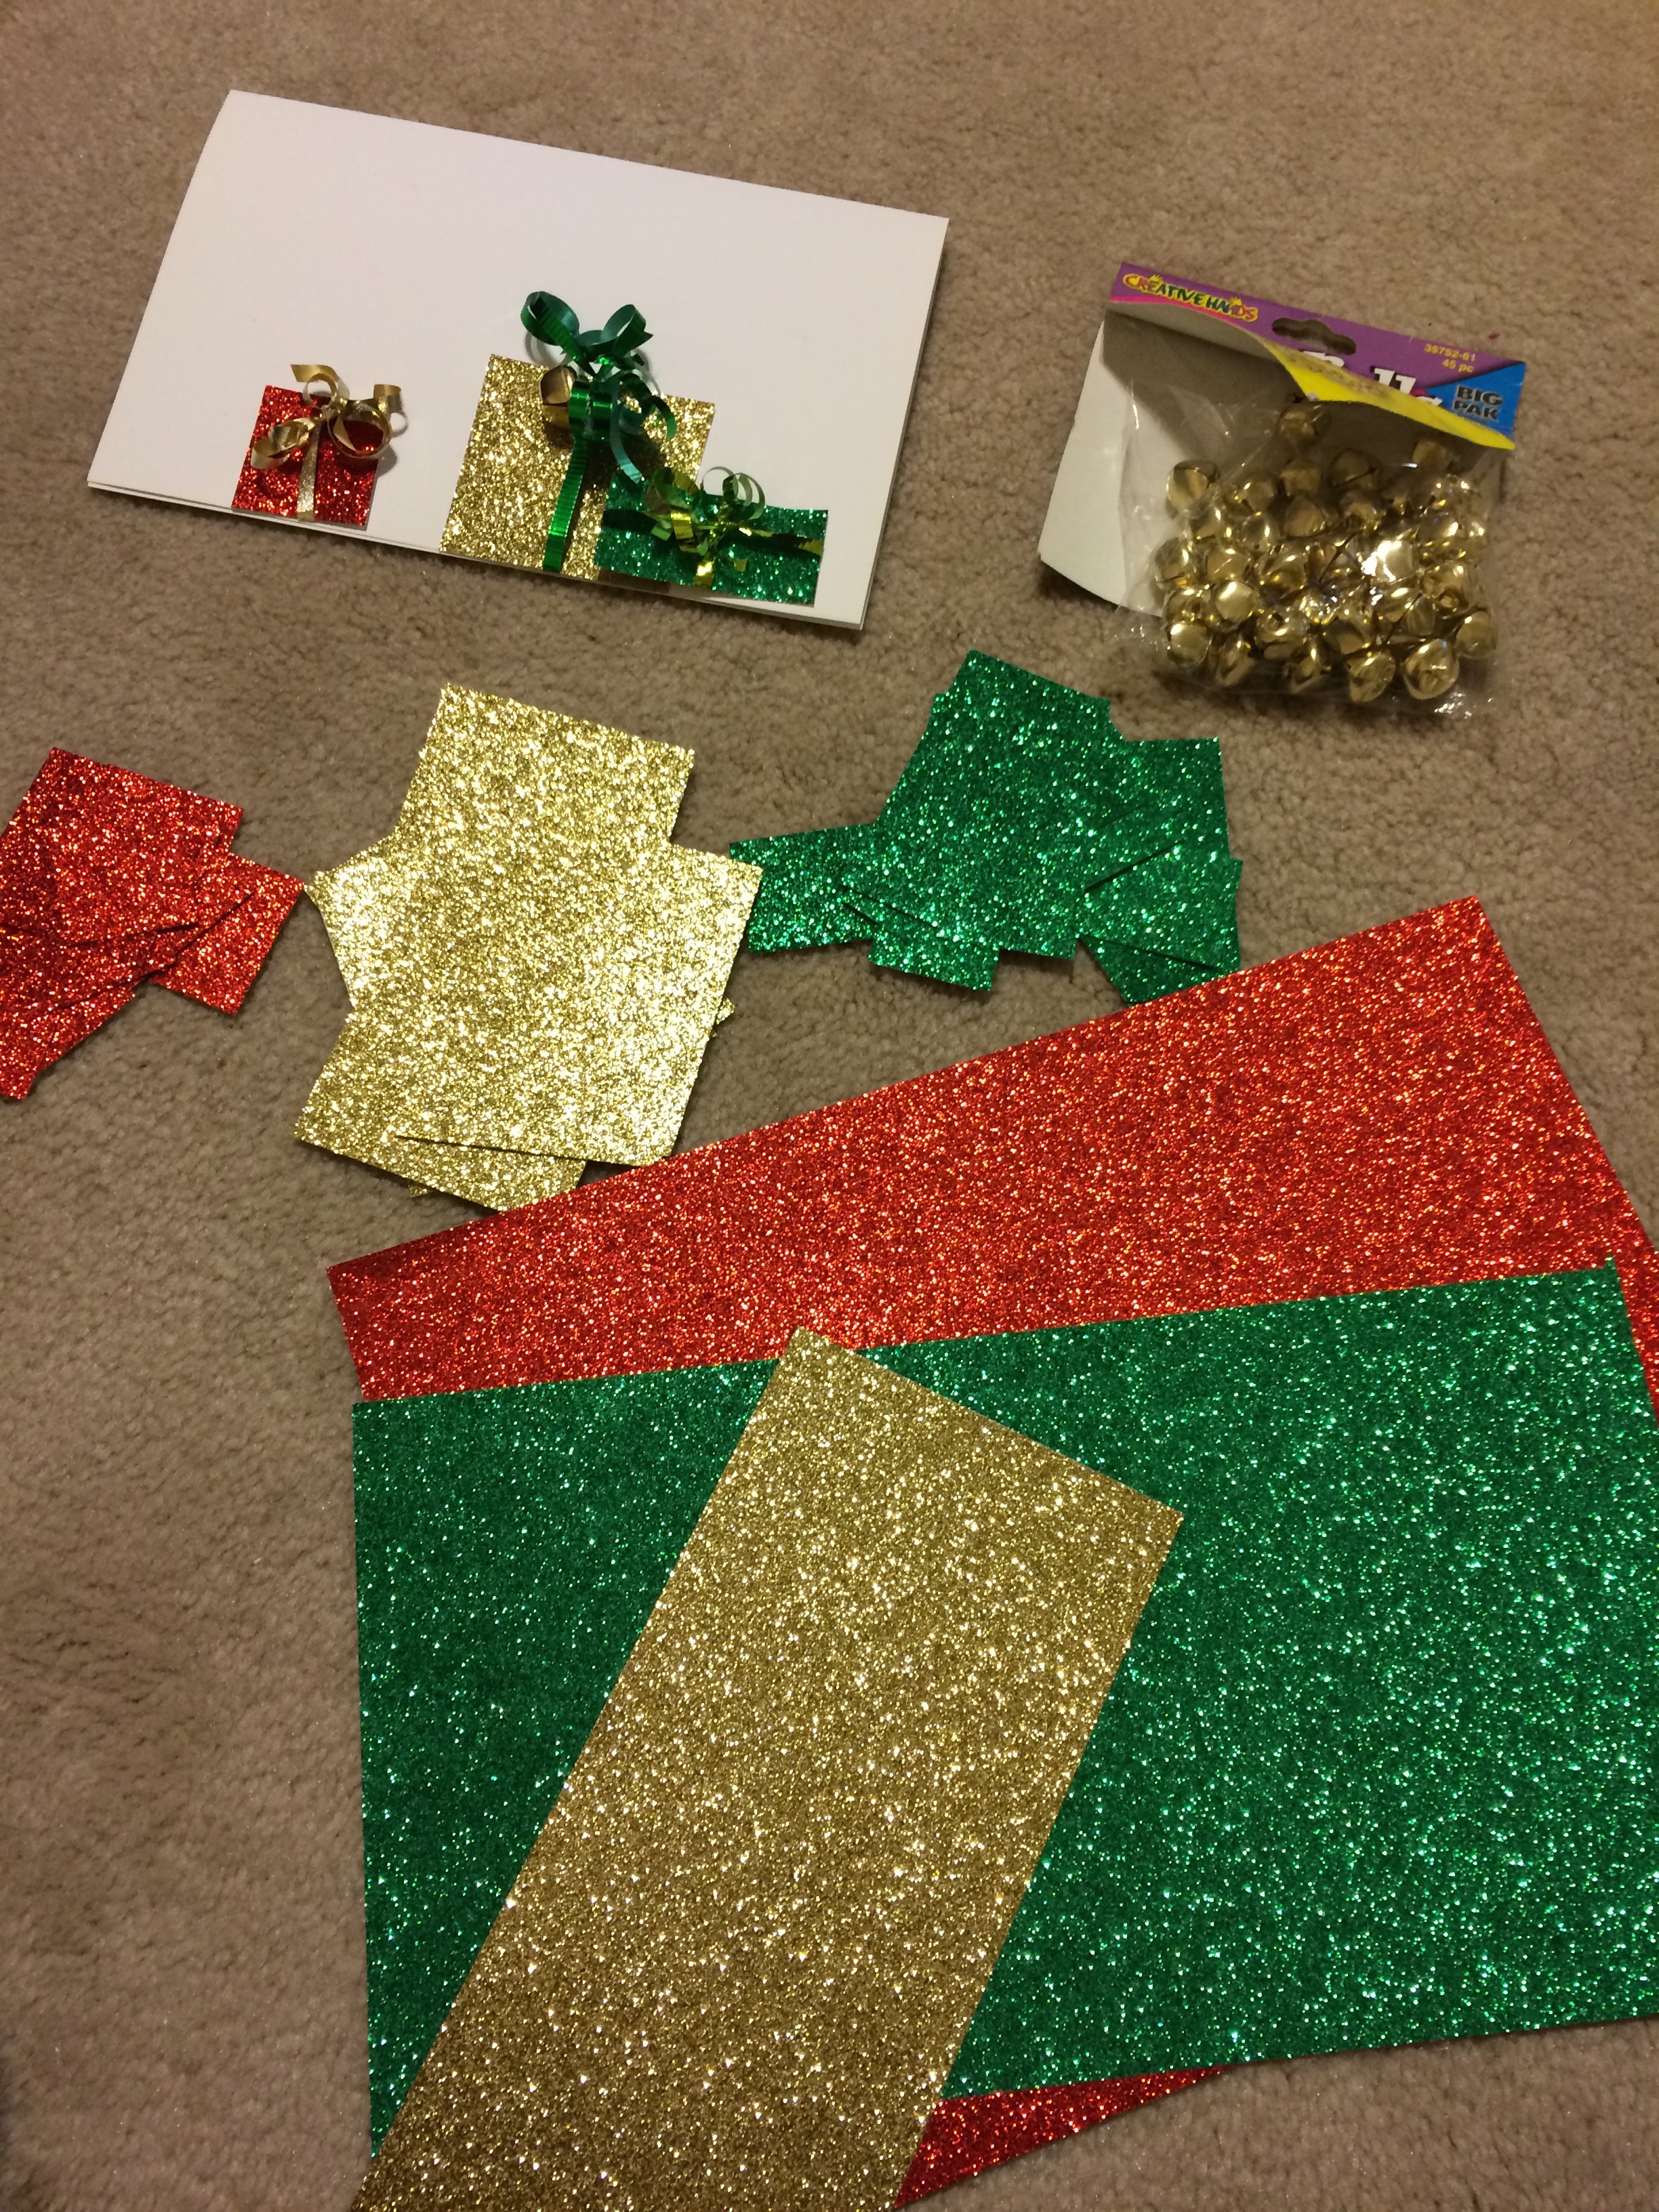
I had previously purchased glitter scrapbook paper and wasn’t quite sure what to do with it, so it came in perfect for this project. I went through my miscellaneous craft box and came across a pack of small bells. The ribbon I had on hand for wrapping gifts from previous years, and the only other thing I needed was tape and staples. Yes, I used staples. I initially tried to sew the papers together but it took forever.
Before you attempt to do this I’ll give you a great tip from a lesson I learned. Do NOT mail the cards with the bells on them. Either make them without the bells or hand deliver them. I did not realize that when I went to mail them the height the bells created changed them from normal postage mailings to “packages”. It ended up being I think $1.20 per card to send them, plus they all came back rejected and I had to resend them.
The number of materials will depend on how many cards you’re making
WHAT YOU NEED
Glitter Scrapbooking Paper
Cardstock & Envelopes
Small Bells
Ribbon
Stapler & Tape
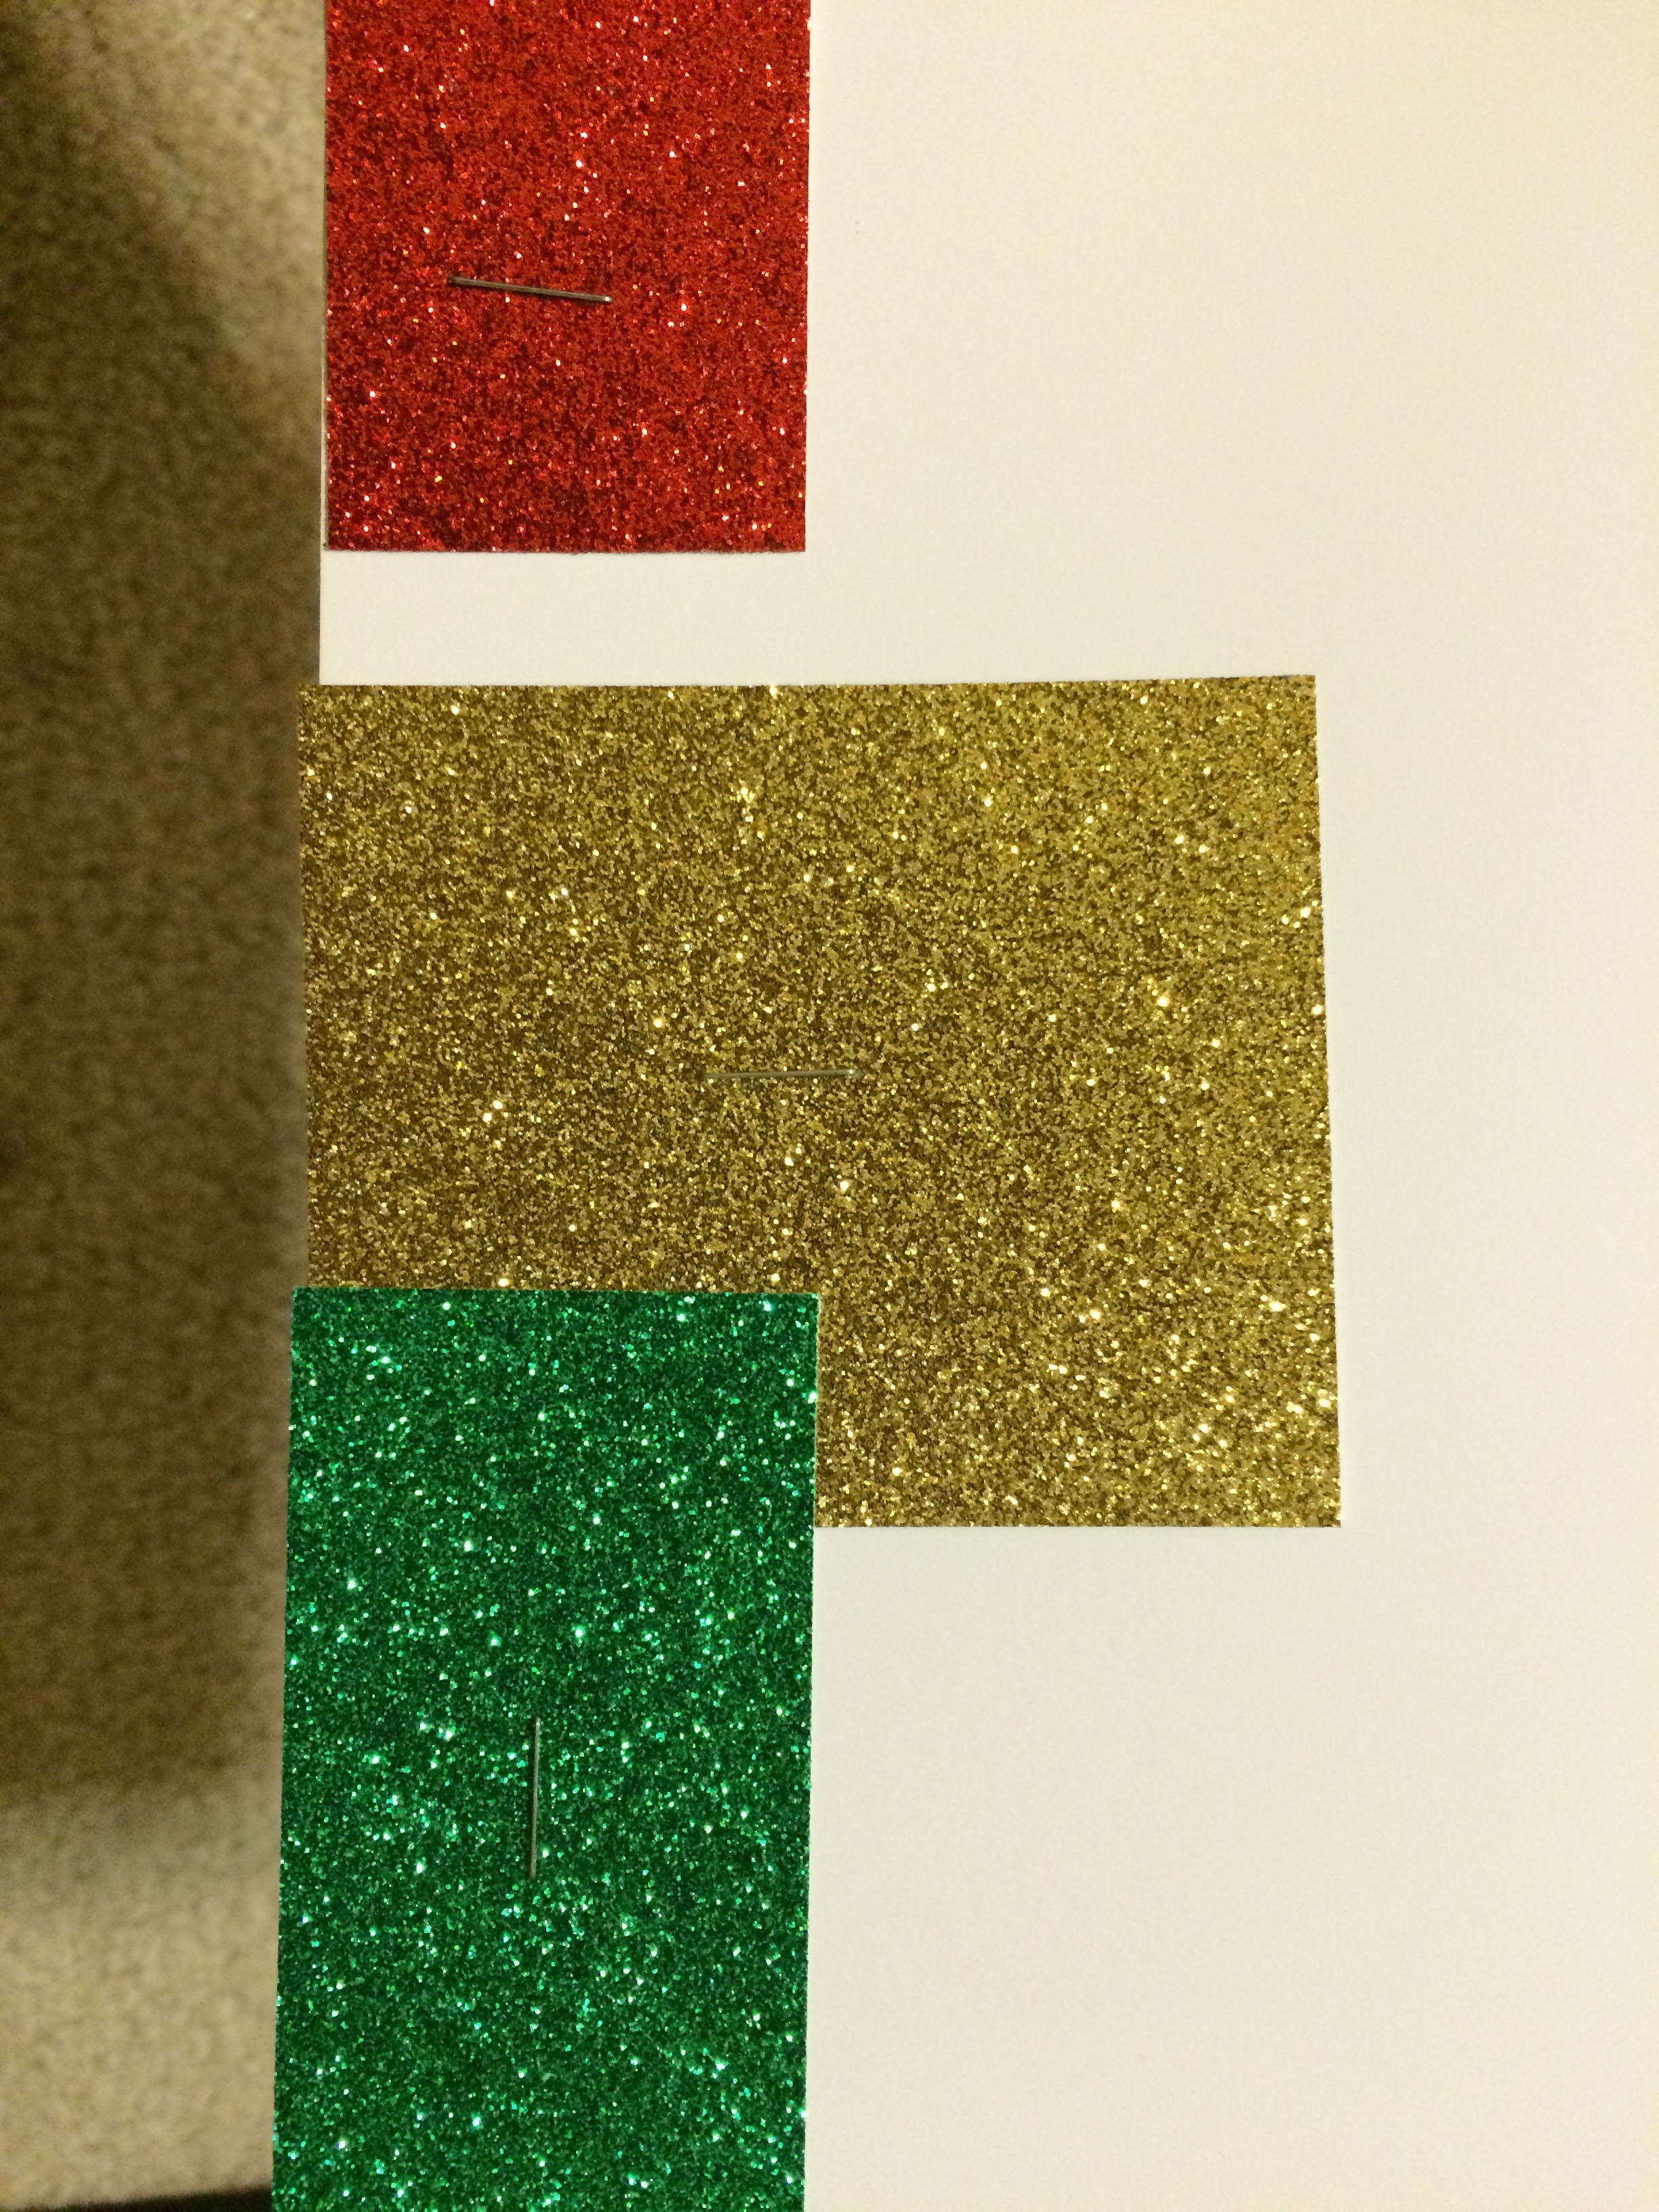
STEP 1
Cut out glitter stock paper into “present” shapes and staple to card. Place staples in a spot where you can tie a ribbon on top of them to cover the staples.
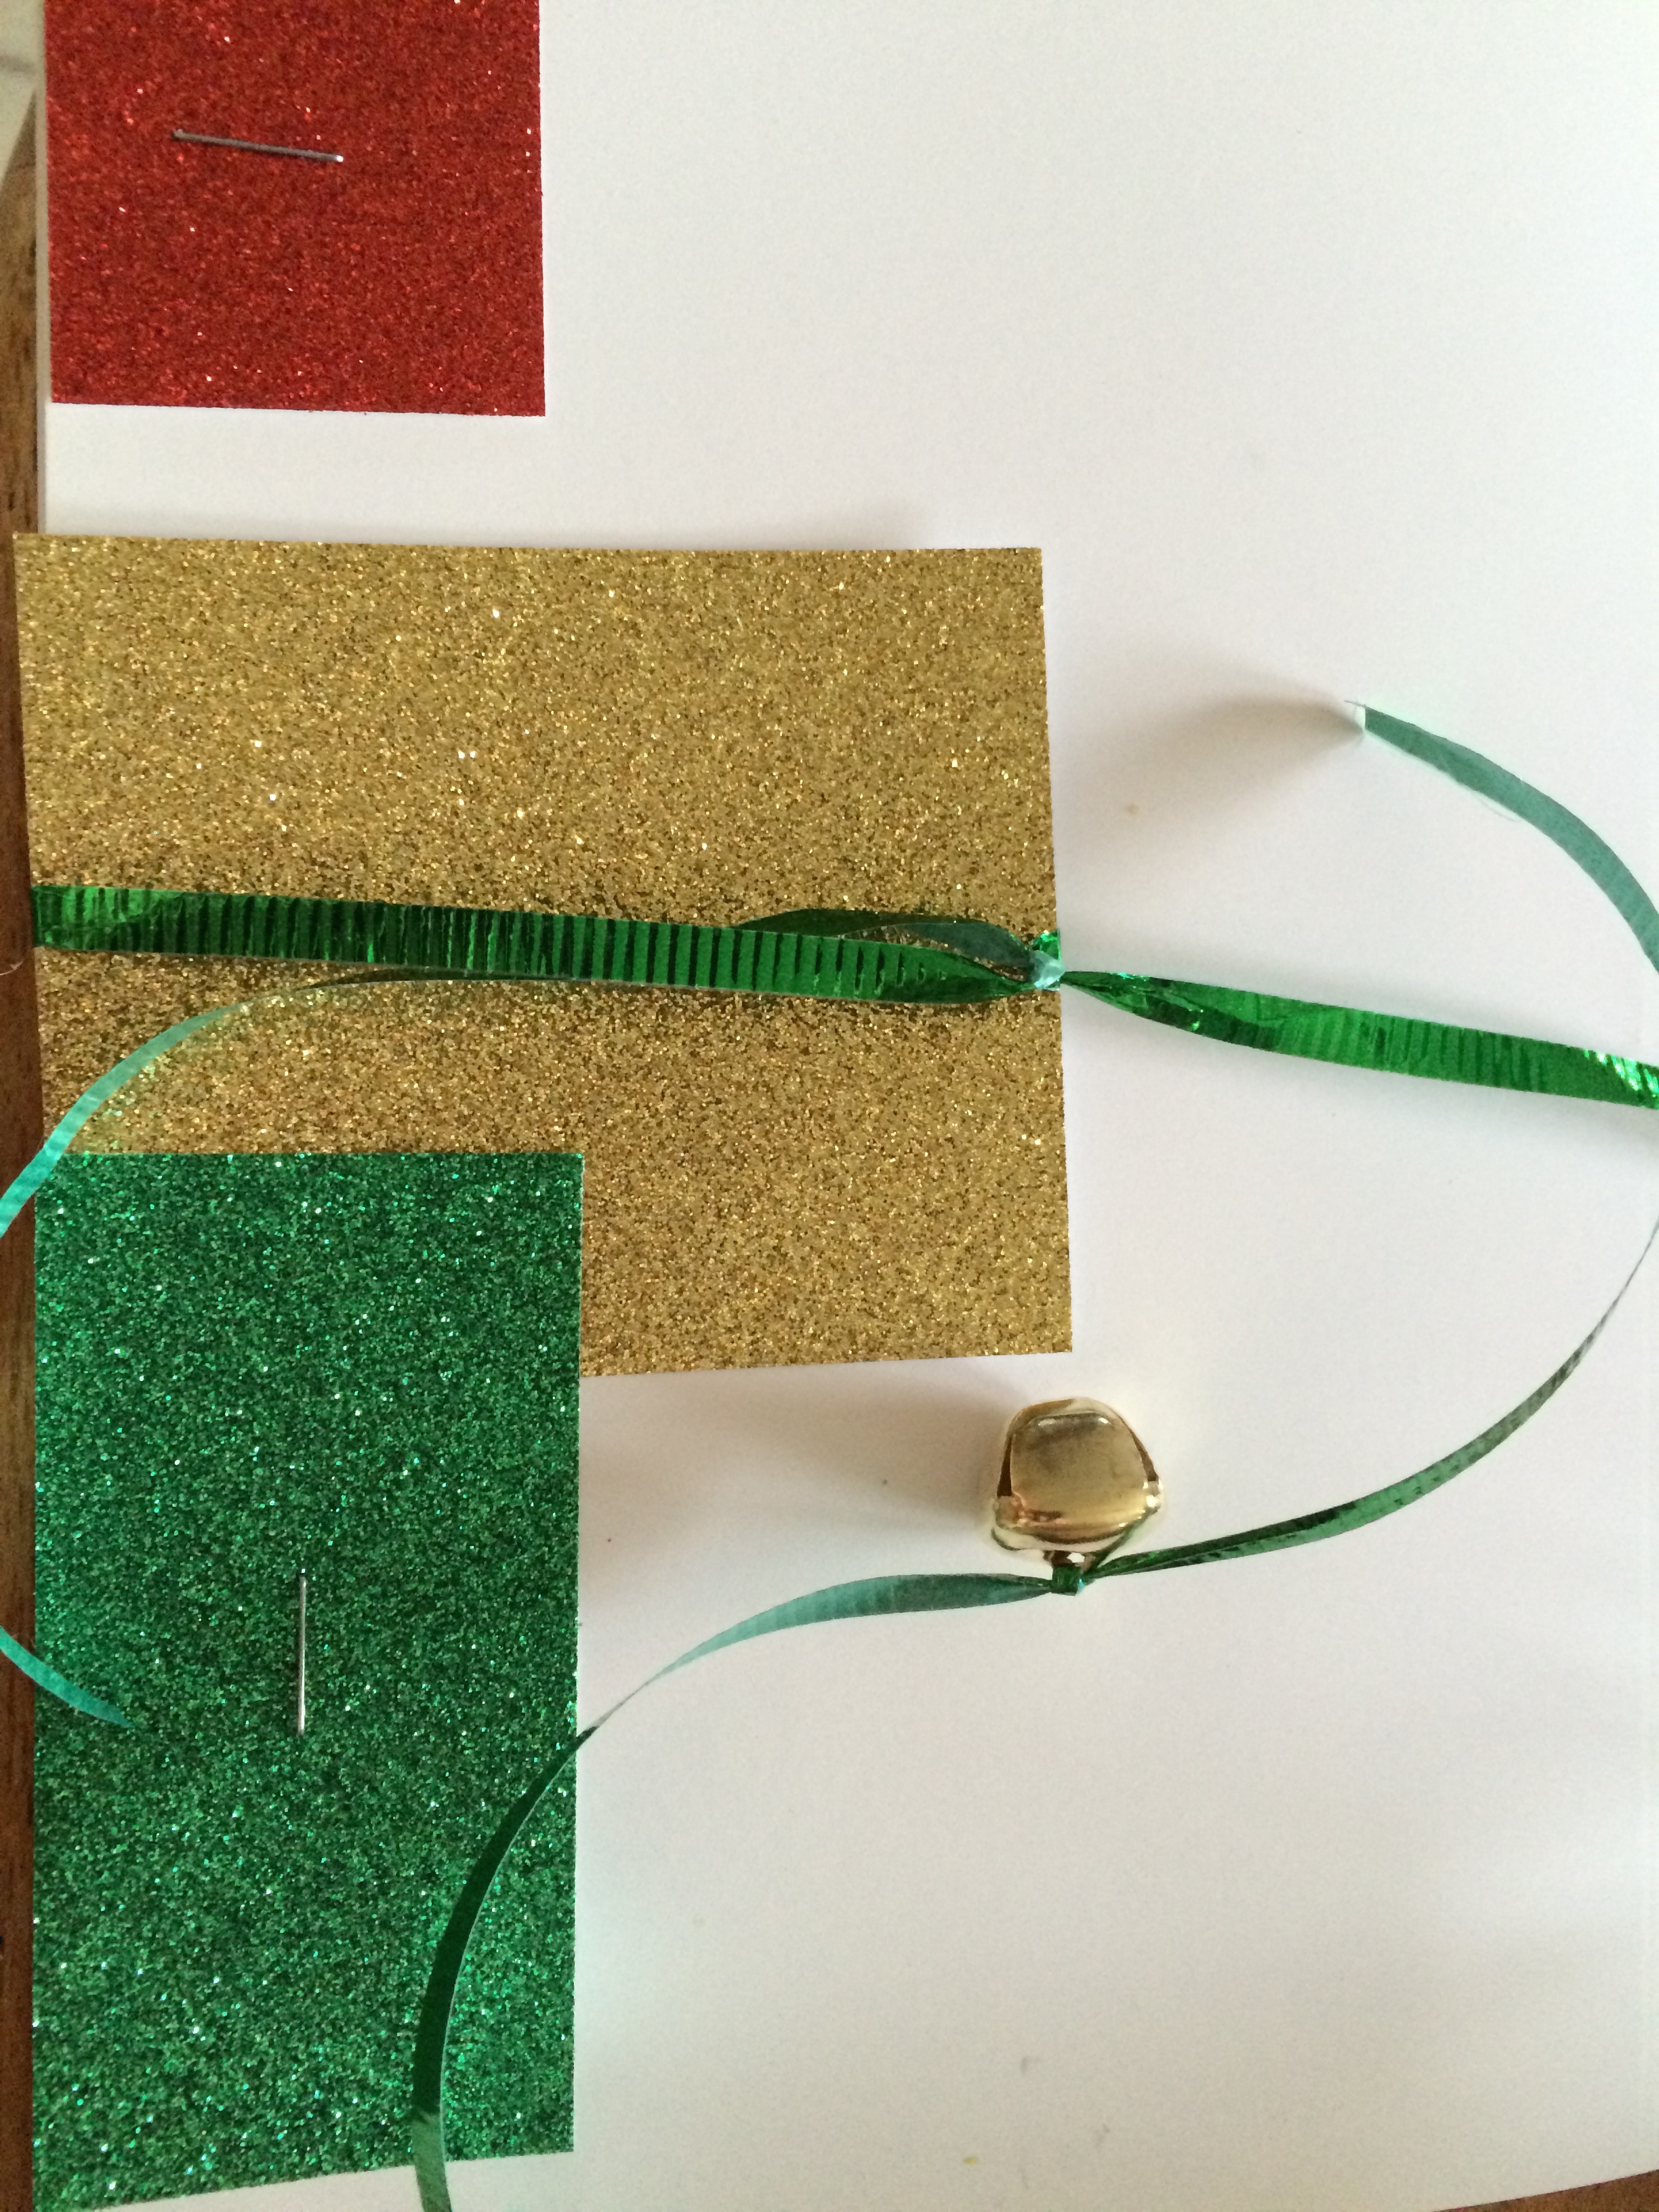
STEP 2
Tie ribbon over each present to cover the staple and knot at the top. String a bell through the ribbon and knot the ribbon again to secure it.
STEP 3
Tie an extra ribbon piece or two and knot them. Curl the ends of the ribbons, and you’re done!