I said next time we’re out I’ll have to try one of these myself. So next time we went on a hike I saw one. I looked at Andrea and she knew exactly what I was thinking, on demand she said “go right ahead.” Let me tell you, I was in a trance. It was very soothing and calming. For someone like me, high energy ADD it was very calming. It was also challenging like a puzzle and balancing act all at the same time! I got mine about 8 (good sized) rocks high. Again I say it’s tougher then it looks. When you look at these rocks you may think, that’s simple, how hard can it be. Well being humans we all know the simplest things are sometimes the hardest that require the most patience. Case in point here.
When I was done I really felt an inner sense of pride and accomplishment. I felt relief. And I wanted my mini rock tower (compared to others) to stand the test of time! Who really knows if it would. Since then I have forgot where exactly mine was to even know if it was still up or if some kids / adults came by and kicked it over. Which got me wondering, how long will it stay up? So I was on mission 2.
Andrea and I found a nice stream to stop at one day while getting our youngest into a nap. As she was sleeping Andrea took our oldest (2nd youngest out of 4) girl out on the stream. Dad (me) stayed in the car while the youngest napped. I saw in the creek ahead where we parked, in a remote location, so remote it had no cell phone service at all, but there I saw a few of these “rock towers”. I took it upon myself to say when the youngest wakes up, I’m doing it. And I’m going to take a photo it and even go back again! Well I have a trip planned in August with just the “boys”, I recommend all dads to do. A trip in which just dad and his two sons are going away. We happen to be going to that same spot again! You bet your behind I’ll check in.
Here’s my Rock Balancing moment. I got 15 rocks high! I was proud.




I found out that there’s actually different kinds of “rock balancing”. Right from old reliable Wikipedia
Rock Stacking – rocks laid flat upon each other to great height.
Classic balance – each rock balanced inline.
Counterbalance – lower rocks depend on the weight of upper rocks to maintain balance.
Arch – rocks form a structure that spans a space. Similar to the architecture of ancient stone bridges.
Free style – a combination of two or more of the above.
]]>
And here’s a photo of our girls taking full advantage of the “craft room” that day too.

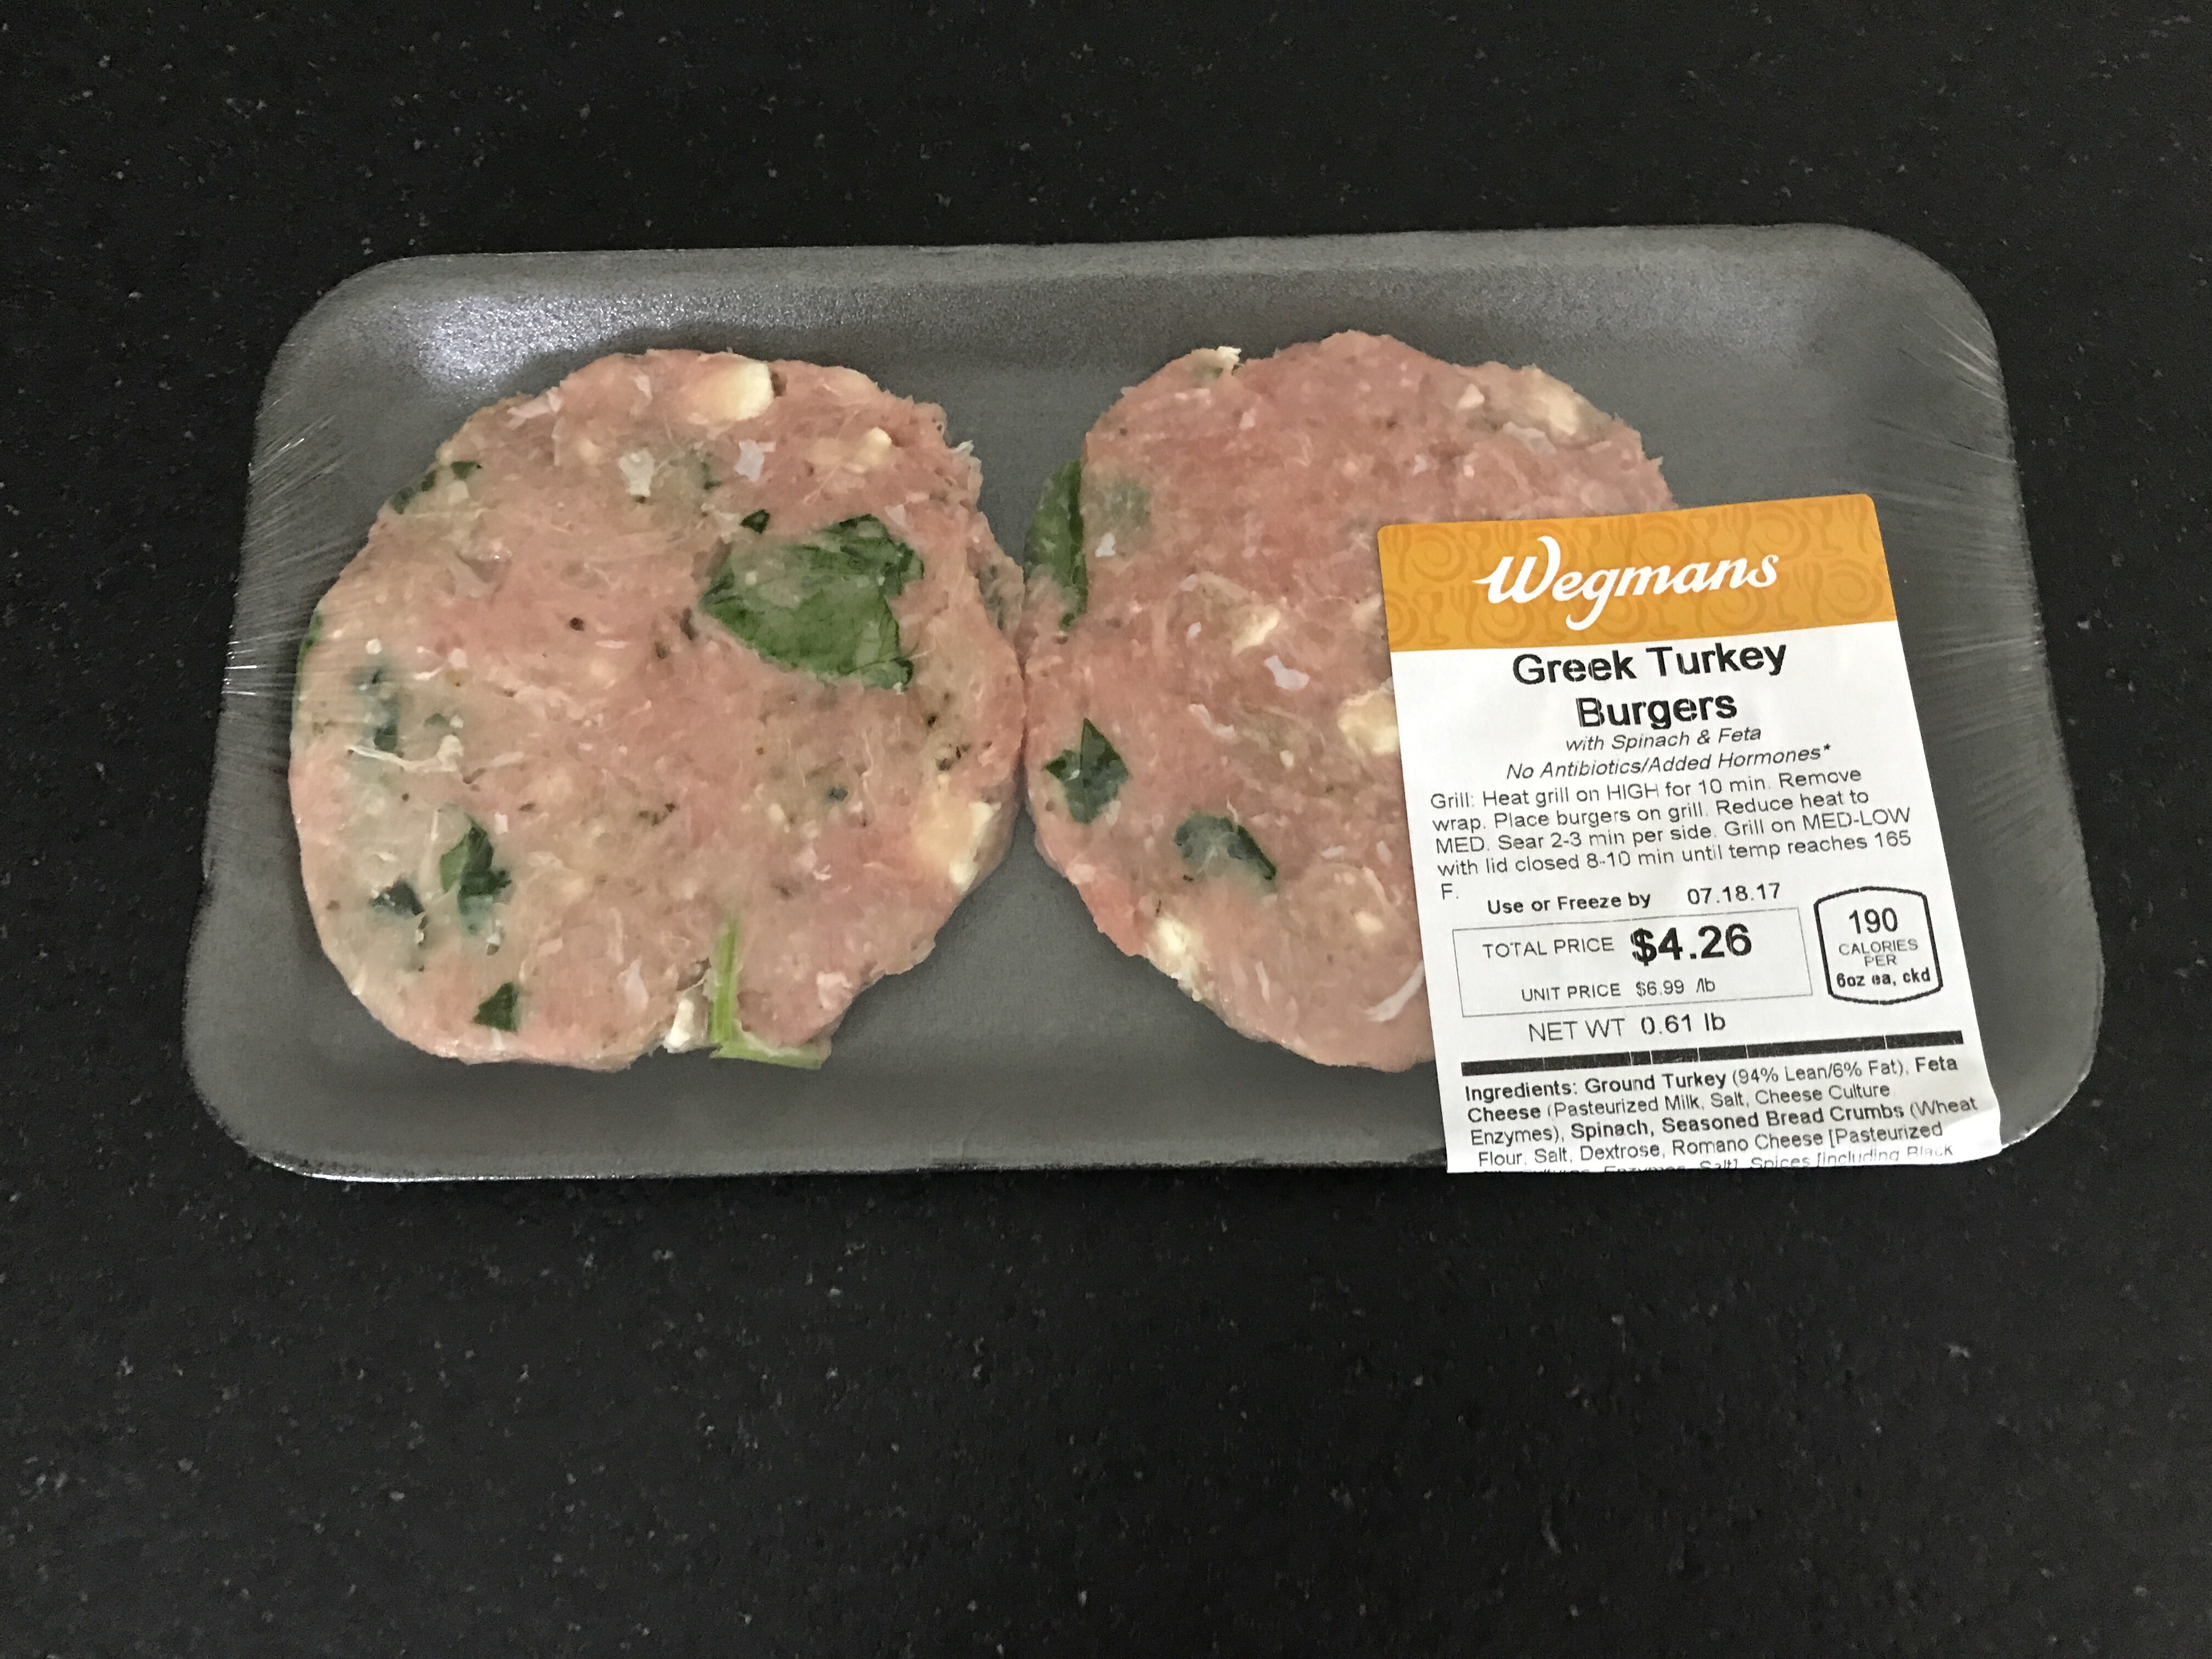
Back to the point of this post. On our way up we stopped by Wegmans as we were staying a few days and needed to get some snacks. My dad phoned and asked me to pick up Wegmans “Greek turkey burgers”. He said – “Eric, these are the BEST.” So for approx $5.00 you get 2 premade Greek turkey burgers. These burgers are quite healthy and contain:
94% Turkey, Feta Cheese, Spinach, Seasoned bread crumbs – it does contain spices like garlic powder, onion powder, soybean, oregano, red pepper, sunflower oil and oil butter.
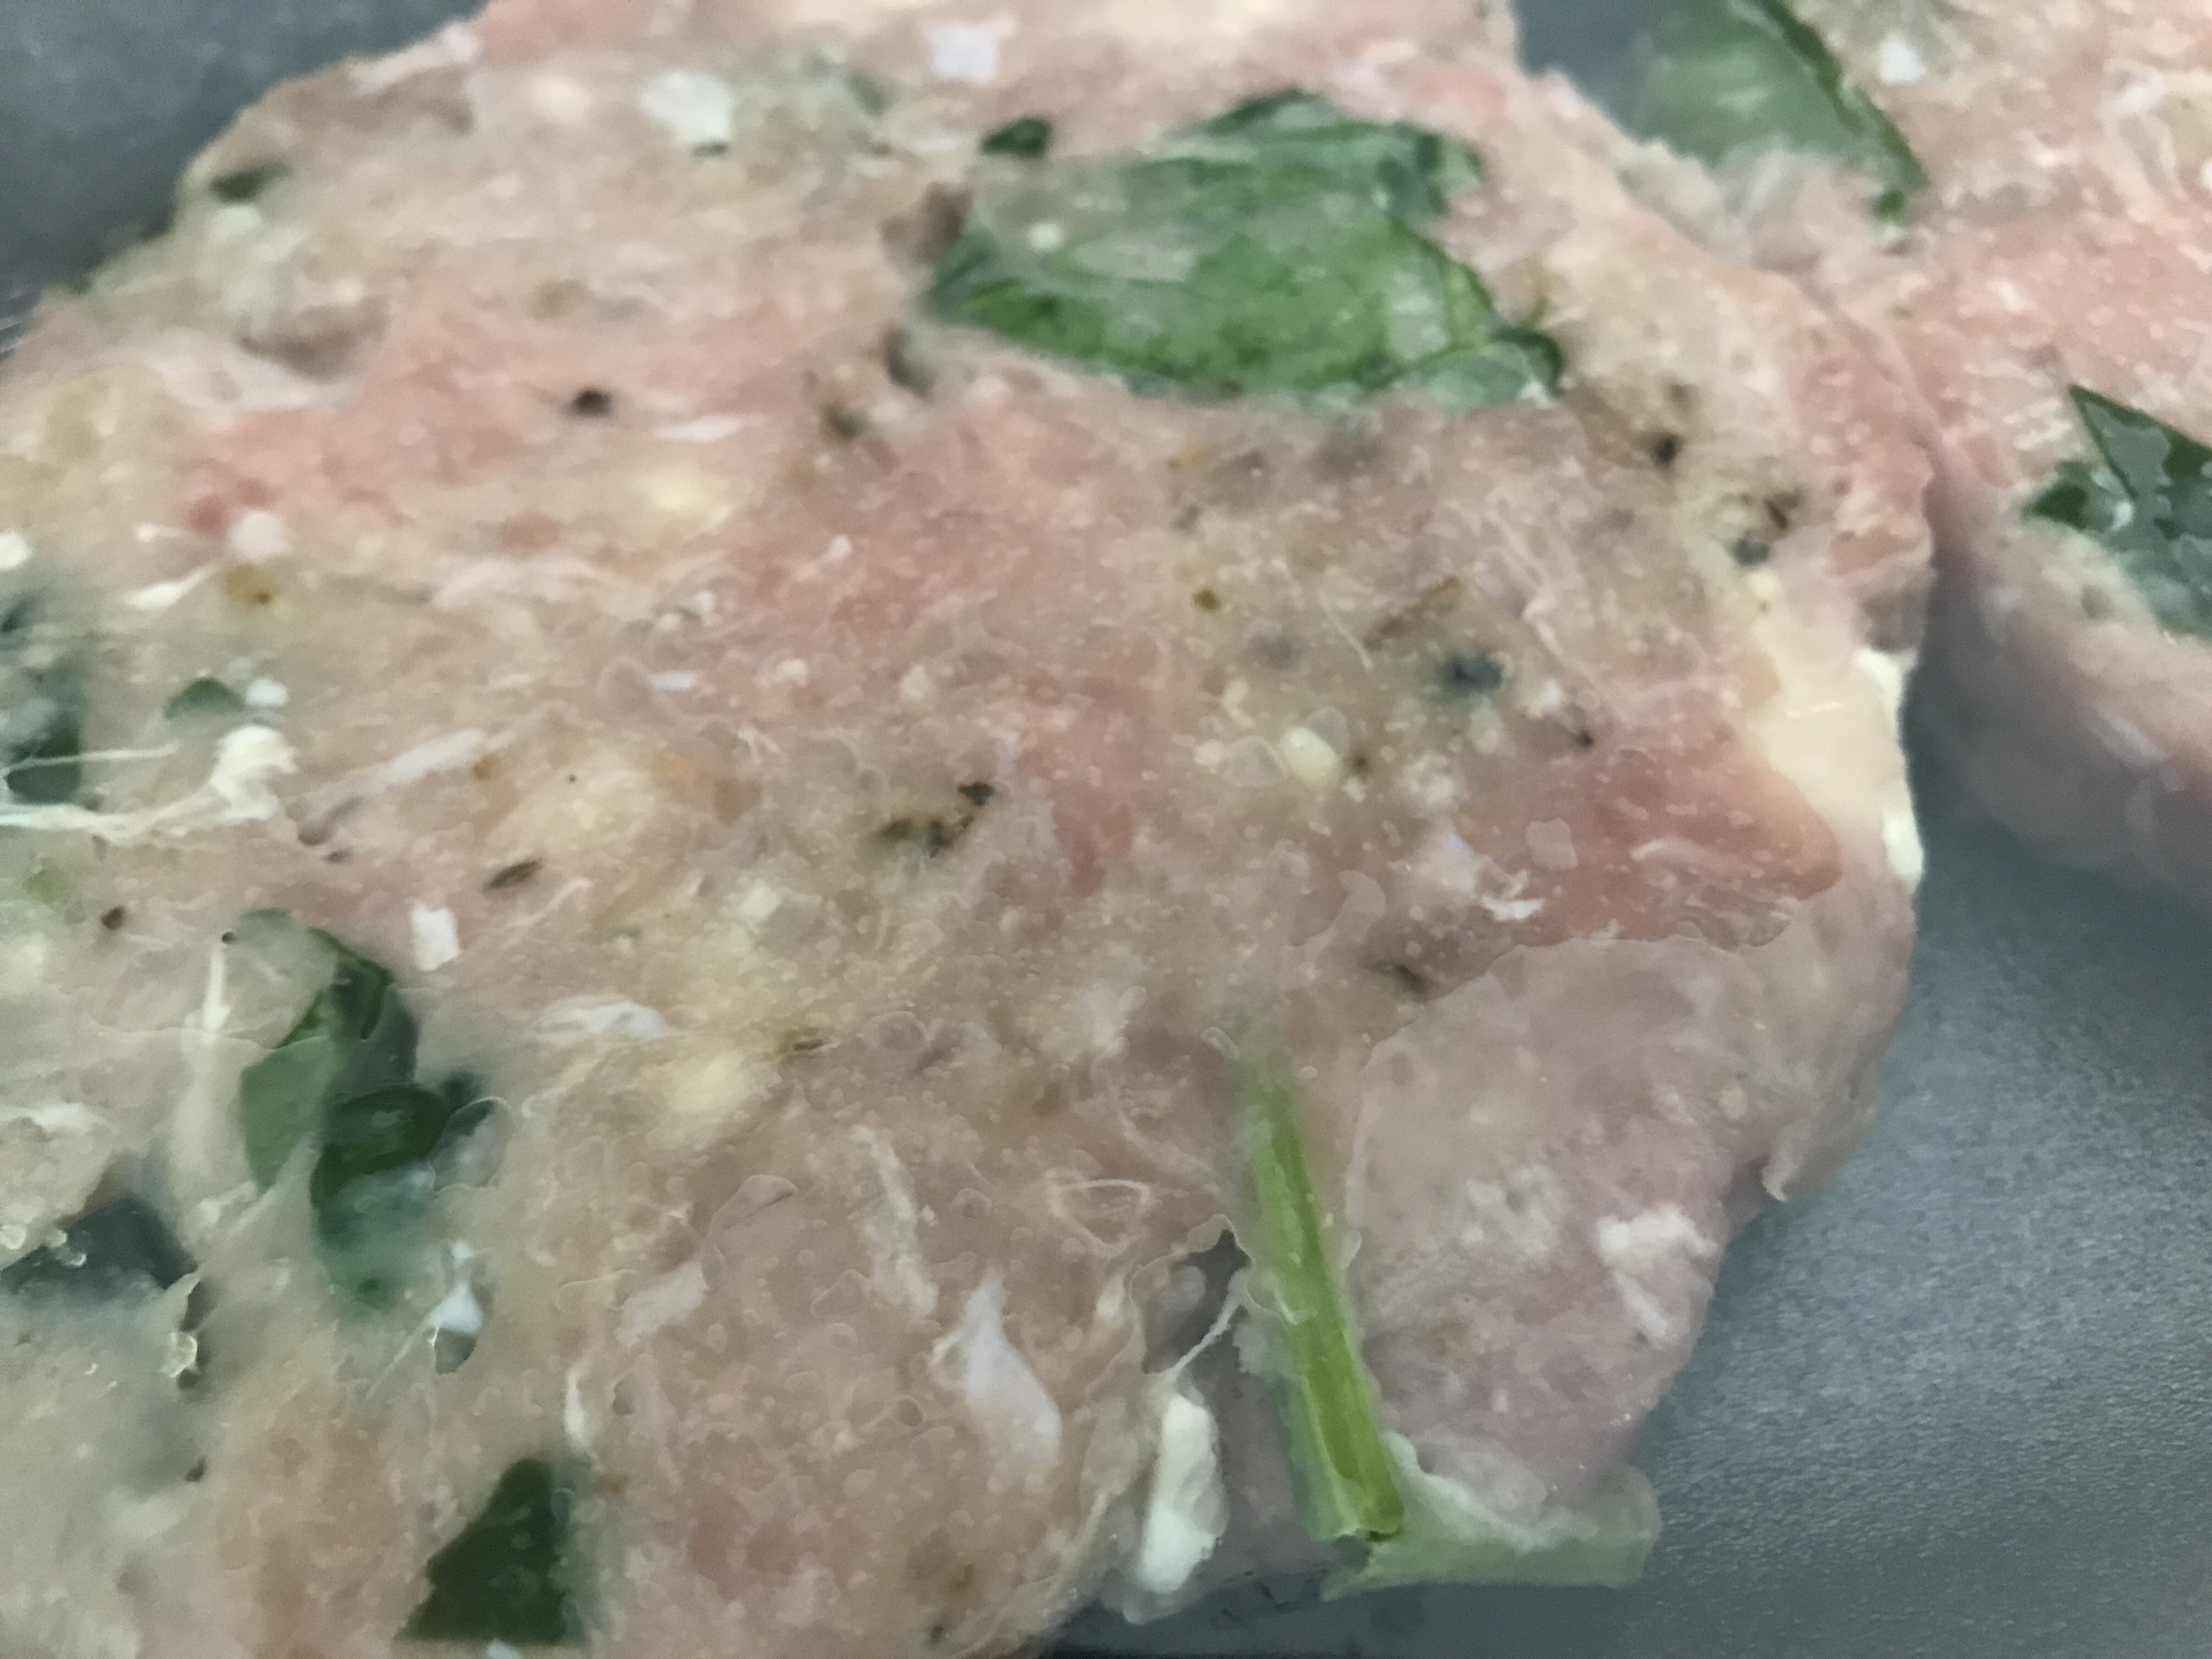
I was skeptical on anything premade but these burgers are FABULOUS. You really need 0 condiments with these, just a bun. Since that day Andrea and I have bought these 2 times. Our oldest loves them too. Here’s some photos of them uncooked then cooked.
I hope you have a Wegmans nearby and do try out these tasty burgers!
This is still in the packaging sorry if it looks blurry:
What the package looks like:
Here’s a photo of it cooked:

All cooked up, get in my belly!

Do you like chicken wings? Have you maybe no fear of ordering them while at a restaurant or bar but never tried to make them at home? Maybe you’re like me, not a great chef, and not very daring in the kitchen at all. Maybe even you find ways to burn the simplest of things. I have been there and done that, plenty of times trust me. But you know the saying, if at first you don’t succeed….try try again! With these wings, I promise you, you really can’t go wrong here! Well I’ll supply you with a pretty bullet proof blueprint. If you mess that up it’s on you, maybe then it is time to order takeout. Lol!
See I enjoy a good wing, but finding that wing is tough, it’s tough to find something that isn’t fried or completely submerged in oils, it’s hard to find something that has GOOD meat on it and not tons of fat. I always find myself saying how can something so simple sometimes be cooked so wrong?!
I “winged” this recipe…ha so corny but really no pun intended, but here it is:
12-16 chicken wings
1 bottle sweet baby rays buffalo sauce
1 tbsp minced garlic
3 tbsp corn starch
1/4 cup olive oil (garlic olive oil)
1/8 tsp of sea salt
1/8 tsp of black pepper
Instructions:
Preheat oven for 400 degrees. Lay out wings on 2 tin foil pans. Mix all ingredients and brush on both sides of wings throughly. Lay remaining “sauce” aside. Bake wings for 20 minutes. After 20 minutes flip wings over and brush once again (remember when you flip the wings where bottom and top is). Heat for another 15-20 minutes or until chicken reads over 160 degrees.
Eat and enjoy! I like to enjoy mine with a bunch of napkins, a good craft IPA and some celery and blue cheese.



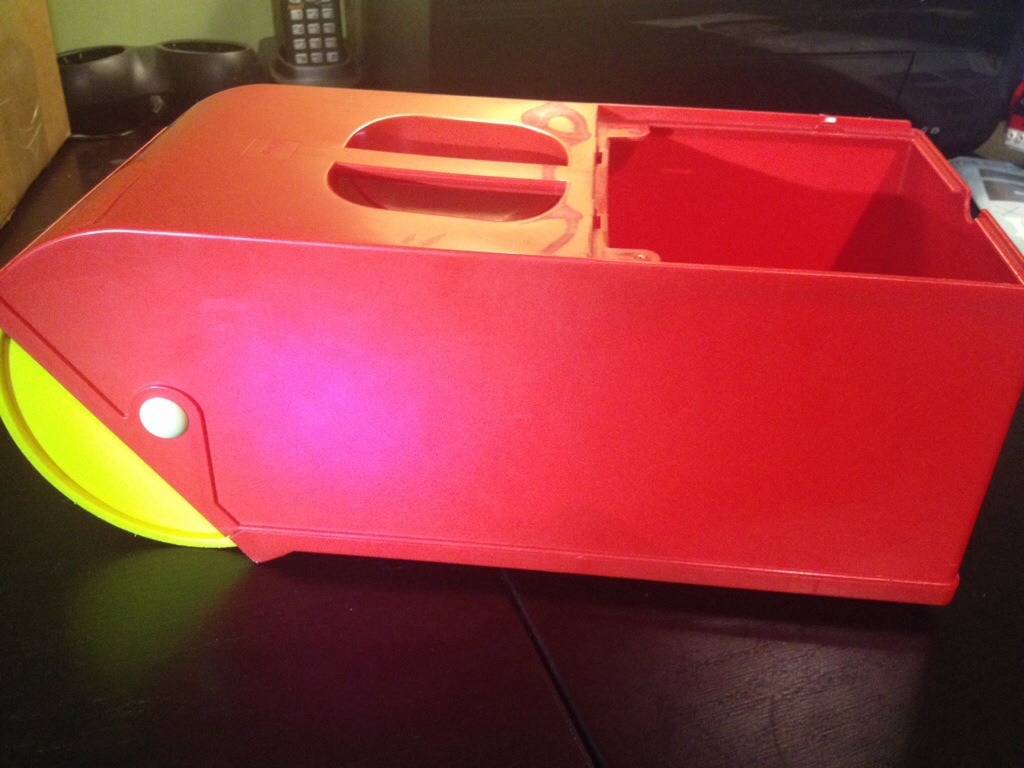
Many of you our there might have a child who enjoys everything there is about LEGOS! Welcome to what I like to call vacuum mine field. Many of you know the endless lego pieces found scattered throughout your home. Or many of you yourself have potentially broke a fingernail or yourself have used a butter knife and maybe even your TOOTH to try to pry or separate a Lego. This post is ALL ABOUT that.
Having 2 boys that love building things and with very active minds we have come to find that once as parents we accepted the defeat of allowing LEGOS into our home that we were potentially doomed. The problem is we had no clue how DOOMED we were. With having other children, smaller children, Legos can become rather dangerous, and for this reason I would like to introduce you with 2 nice things that we have found that have made our lives a bit easier.
Item Number 1 = Lego Building Accessory – Lego Separator
This particular item has become a mini lifesaver in so many ways. My youngest boy (2nd oldest of 4) is a very “hands on” “mouth on” “smell on” “sensory” child. He has to touch things, smell them, put them in his mouth or whatever is needed to get the job done. For that reason this alone has been a great tool to use. He uses his teeth usually to separate his Legos, this genius tool works great at separating them for him. Leaving Legos away from harms “swallowing” way as well as not having teeth marks engraved into each Lego piece. Sometimes in some packs you might get one of these and they come in different colors as well. Just understand that this little tool will save, teeth, fingernails, and you never know…maybe even a life! For LEGO KIDS this is a MUST HAVE!
Item Number 2 = Lego Picker Upper
This is a pretty vintage toy that game out in the later 80s and early 90s. They are harder to come by and maybe you can find one from Ebay or Craigslist or something like that. But if you can get your hands on one of these try to. They make cleaning so much easier for your child and more fun for them as well. We were lucky enough to inherit one of these from my wife’s parents that they used as children. Please see the video displayed below as a demonstration of how this product works. But again a MUST HAVE your child can no longer use the “but mom/dad there’s too many to clean up” excuse. Problem solved. Again if you can find one GREAT if not see the alternative I posted below the video as a “bonus” product
Bonus Product!!!!! My friends have used this for years and I’m sure if you have googled “Lego sweeper” you will get this from other bloggers / mom’s / dad’s etc etc… My friends swear by this but theres just something about the whole – vacuuming up animal hair / crumbs within your Legos that just doesn’t want to make me rush out and do this. I’m content with my “Lego Picker Upper”.
BONUS – Bissell Perfect Sweep Cordless Sweeper – Bissell Vacuum
This Item has been known to do a great job as well and you can go in youtube and check out other people showing demonstrations of how this is used. Whatever floats your boat is fine by me.
I hope that again you found this article helpful and useful and as always, help spread the word!!!
Disclosure: This post contains an affiliate link(s). Thank you for supporting Our Nutshell at no cost to you
]]>Tonight I took it into my own hands, my wife informed me that we had 2 things of ground turkey and that they both need to be used before Friday. So she starts spitting out all of the different things that I can make with them…as she IS THE COOK in this household. I said to myself, hmm I dont want tacos, we had Fajitas last night, and I dont want to make something I made before, I want to step outside of the box and make something different. So I saw a recipe for a “Ground Turkey Casserole” figured, heck I can do that. So like any person with a computer, tablet, smartphone would do I hit up “THE GOOGLE”. I came across this website and this recipe CLICK ME
That said I made some tweaks to it myself because I didn’t have “Egg noodles”. Here is what I did below: (Recipe makes 8 servings)
1 pound ground turkey
1 (15 ounce) can tomato sauce – I used a 24oz
1 teaspoon white sugar
1 (8 ounce) container sour cream
1 (8 ounce) package cream cheese
1 (12 ounce) pkg uncooked egg noodles – I used Wheat Lasagna Noodles
2 cups shredded Cheddar cheese
Directions from the website:
1- Preheat oven to 350 degrees F (175 degrees C).
2 – In a large skillet over medium-high heat, saute the ground turkey for 5 to 10 minutes, or until browned. Drain the turkey, stir in the tomato sauce and sugar, and set aside. In a medium bowl, combine the sour cream and cream cheese. Mix well and set aside.
3 – Cook noodles according to package directions. Place them into a 9×13-inch baking dish, then layer the turkey mixture over the noodles. Then layer the sour cream mixture over the turkey, and top with cheese.
4 – Bake at 350 degrees F (175 degrees C) for 20 to 35 minutes, or until cheese is melted and bubbly.
Those Directions personally for me were a bit more difficult so I will explain my own.
– I took a skillet / frying pan and added in the ground turkey and allowed it to cook until it was done
– While that I heated up my water to boil for the noodles, once the water came to a boil I followed the direction on the package to good the lasagna noodles.
– During all of this going on I got a medium (good medium) sized bowl and added the pasta sauce [I personally used a full 24oz jar of pasta sauce I too approx 18oz out for this and left 6 in the jar] and 1 tsp of white sugar and mixed.
– I then got another medium sized bowl and added in the 8oz of sour cream and one block (8oz) of Philadelphia Cream Cheese. I began to mix and stir with the assistant of my 10 yr old until is was as “saucy” as possible
– At this point I preheat my over to 350 degrees F.
– I then took off the Turkey and stirred it into the medium bowl of pasta and sugar, and stirred them up real well.
– By then the lasagna noodles were done and I grabbed my 9X13 pan and this is where I got the rest of that pasta and put it on the bottom of the pan, so the noodles would not “BURN” to the pan. (smart on my part I thought).
– I placed the noodles in on the pan and spread them out as even as possible, I then added the sour cream / cream cheese mix and tried to spread it out as best as possible. Then I added in the ground turkey and sprinkled the cheese on top.
After I came out with this!!!! I thought it was great and to be honest I was surprised how quick everyone ate it up. Was a great little meal and all in about 1 hour of time!



As a pretty avid Amazon shopper and let me tell you having a PRIME account is a dangerous thing. But yeah, as an Amazon shopper I was looking one day on how to make my iPhone (any phone / smartphone / music payer) louder when taking a shower. Yes, I enjoy listening to music in the shower like most people I know. The problem is that little iPhone speaker can only go / be so loud. I found myself putting it in a higher place just to allow the sound to creep in over the top of the shower stall. Until my searches brought me upon this little gem of a speaker. It is made by Kinivo, and it is one heck of a little find. It’s a portable rechargeable (by usb) speaker. Now I always look at Amazon reviews and generally they are always very helpful. I noticed that some people say that its smaller then you think, and packs a bigger punch then expected. Most every review had a great review for this product, and for a whopping $18.99 I just could not pass that up. So I wanted to put this speaker to the TEST!
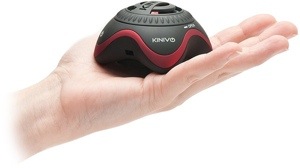
Got that package delivered and when I saw the box it came in and the size of it I chuckled. It is rather smaller then one thinks. I do not have huge hands and this thing fits in the palm of my hands. It has good solid weight to it, you can tell its not cheaply made. When I first turned it on and used it and cranked it up a bit I was a little shocked with the output of sound that this little thing delivered. It comes with a headphone plug that you use to plug in into the phone.
The first night I used it in the bathroom I was extremely impressed with the sound. As my wife came and closed the door because it was “too loud”. All of this from this little speaker. I am seriously impressed with the bass and clarity it puts out. I would highly recommend this product, for any man, woman, kid, or child. My only complaint as well as my wife’s complaint was that the buttons are hard to push in sometimes. You almost have to use the very edge of the button to get it just right.
On a side note, for the more tech geeks you can hook multiple speakers in series with one another for a louder affect and sound. To break it down for the “normal” people you can connect one speaker, to another, to another, to another, to another…..get the drift? If you yourself have an amazon prime account you can get the product HERE


Even with a family of four kids and running a business my wife and I find time to always keep a fresh and healthy stock of fresh fruit. And might I recommend if you are looking for a nice day out or for some healthy fun please look around in your local area for blueberry, strawberry or apple picking. There are many things and farms and places out there that you can go and take the family to for a fun day out. Yes sometimes they may charge a bit more but you’re going for the experience and memories not for just the berries / fruit / veggies. We always try to help support local farmers and markets as much as possible as well.
I hope that you found this little blurb informational and hopefully it inspires you to start feeding your child fruits and paving the way for them for years to come. I can guarantee that you will not be disappointed by the outcome.
]]>